You want a path that feels intentional, but a full paved yard is expensive and can make a small space look heavy. Stepping stones feel like the sweet spot, until they wobble, sink, or turn slippery after rain.
In Malaysia, sudden downpours, humid shade, and fast algae film can make “cute” stepping stones become a safety problem, especially in narrow terrace-house side yards or condo patios. Mud splash and weeds also show up fast.
In this guide, you’ll learn how to build stepping-stone paving that guides feet safely while keeping cost and space under control. You will also learn how to stop rocking stones and messy gaps.
Hi, I’m Ken. I write practical home guides for Malaysia—no fluff, just what works.
I hold a formal building design qualification and have spent about 20 years on job sites across hundreds of projects. My goal is simple: help you avoid costly mistakes with clear, safe steps—a quick way to decide what to do next.
1. Garden paving with stepping stones: 5 steps
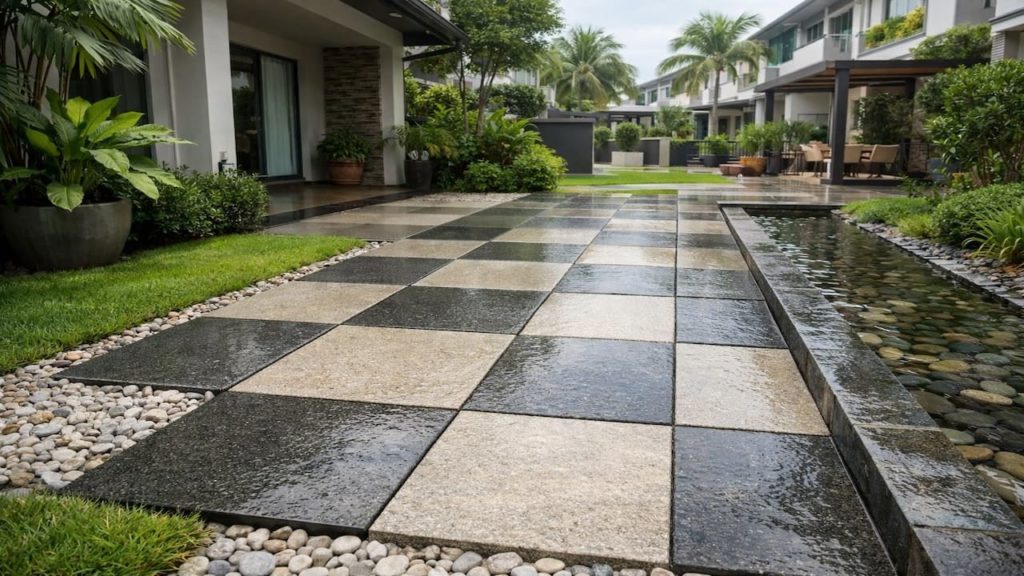
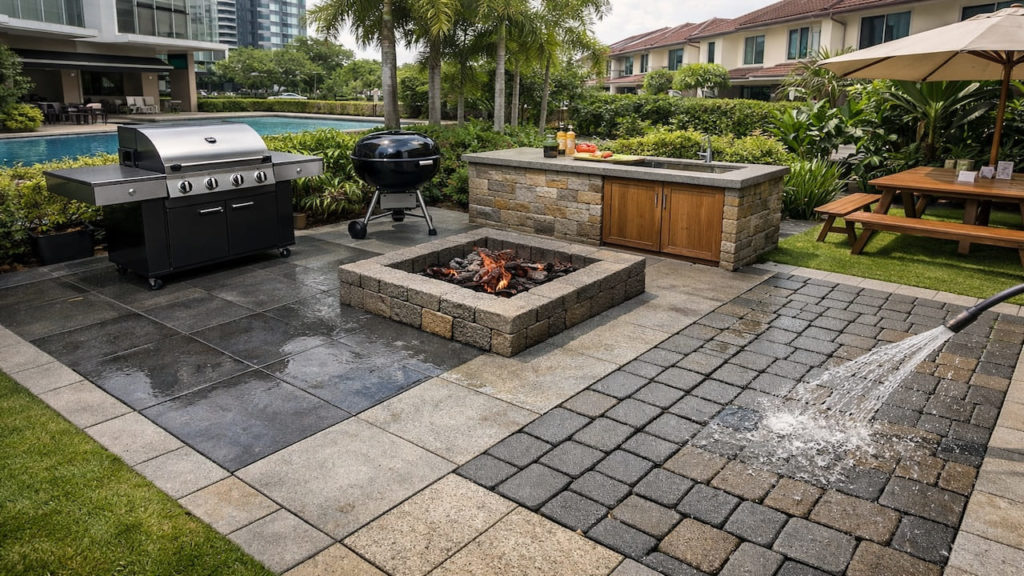
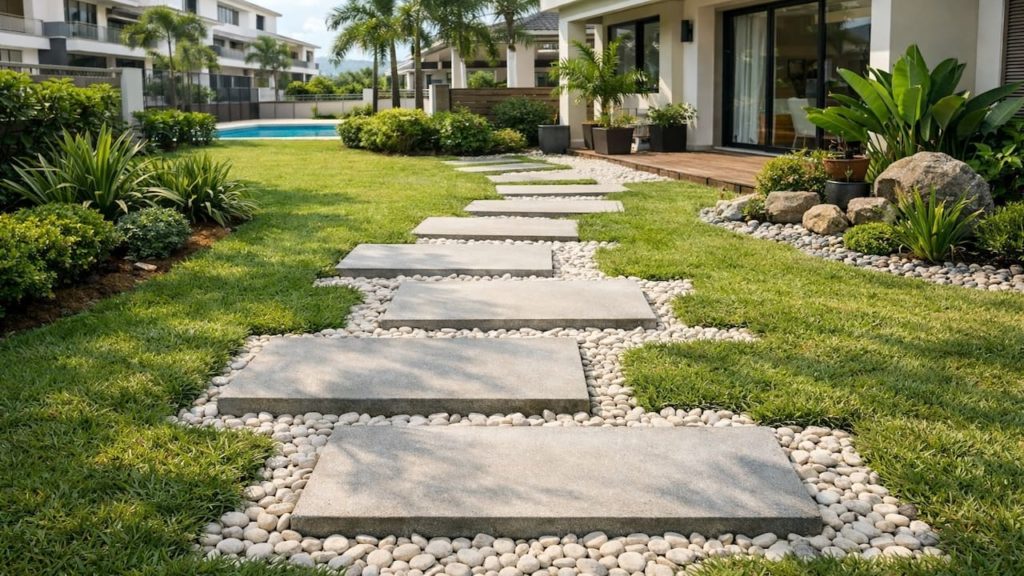
Stepping stones work when each step lands flat and drains fast so the path feels safe even in wet months.
A good stepping-stone path is not decoration, it is a walking system with clear rhythm and stable support. In humid Malaysia, wet sheen and algae make smooth surfaces risky, so texture and drainage matter more than fancy shapes. Foot guidance. If you build the base properly, the stones stay level and look planned.
- Map your walking line from door to gate
- Set step spacing to your natural stride
- Dig each pad and compact the base hard
- Use textured stones and control wet sheen
- Fill gaps with gravel or tough groundcover
Some people say stepping stones are “too casual,” but that is only when spacing is random and edges are messy — then it looks like leftovers. If you align the rhythm and keep borders clean, it reads premium even on a budget. Clear movement. Calm yard.
2. Guide feet while saving budget & space
Use the minimum stone count that still feels obvious so the yard stays open and the budget stays under control.
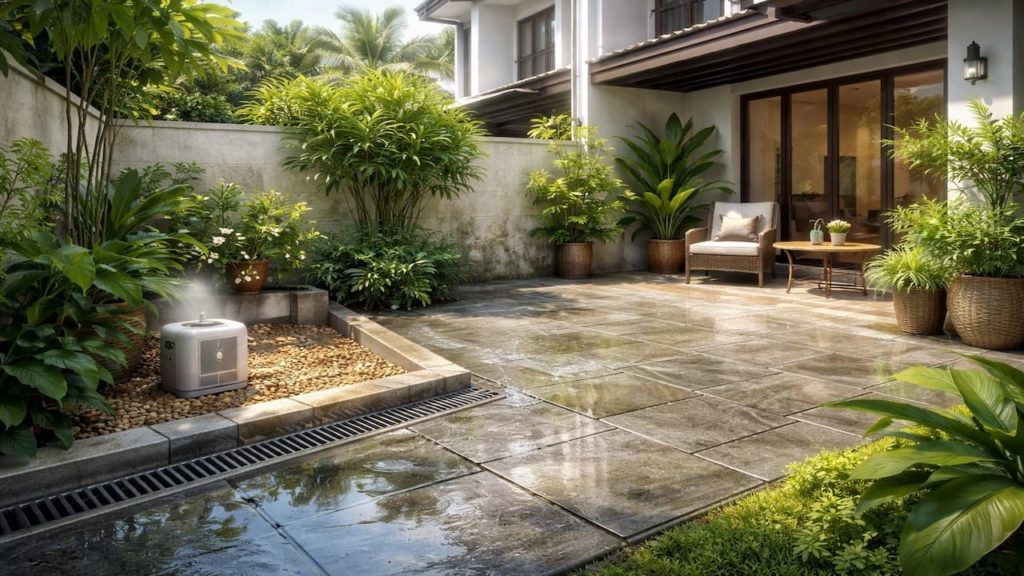
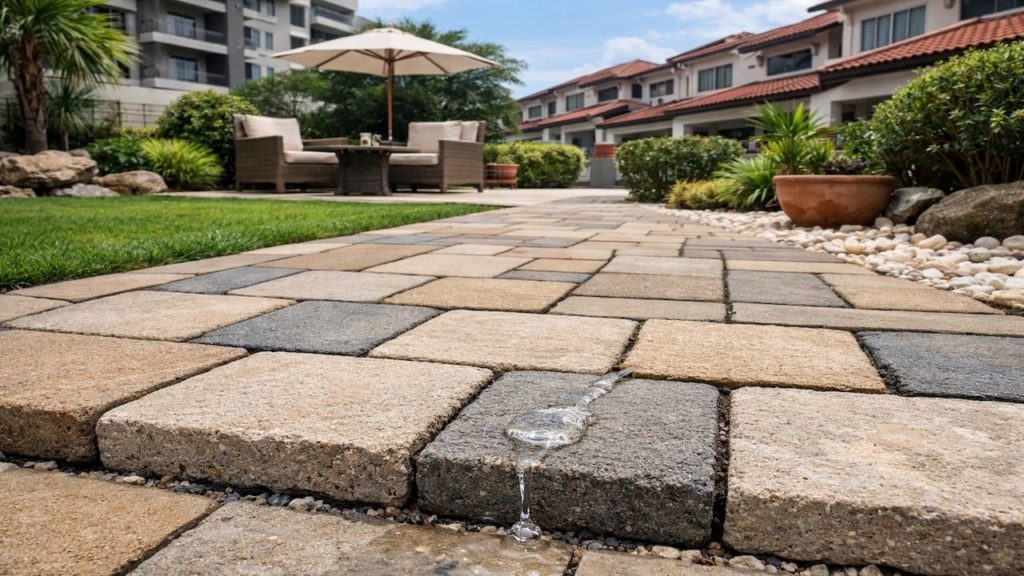
In small terrace yards, every extra slab steals visual breathing room and makes cleaning harder. A stepping-stone line uses material only where feet actually land, and the surrounding surface can be gravel or planting that handles rain. Smart spending. The key is to make the “walk here” message clear without overbuilding.
- Start with the two key points of travel
- Choose one stone size and repeat it
- Keep the path slightly away from walls
- Use gravel zones to absorb splash and runoff
- Add one visual anchor at corners and turns
You might think fewer stones means less safety, but the opposite can happen because the route becomes clearer. Too many stones create choices, and choices create missteps in rain — especially when carrying laundry or rushing for deliveries. Simple route. Less hesitation.
3. Why stepping stones turn wobbly and slippery
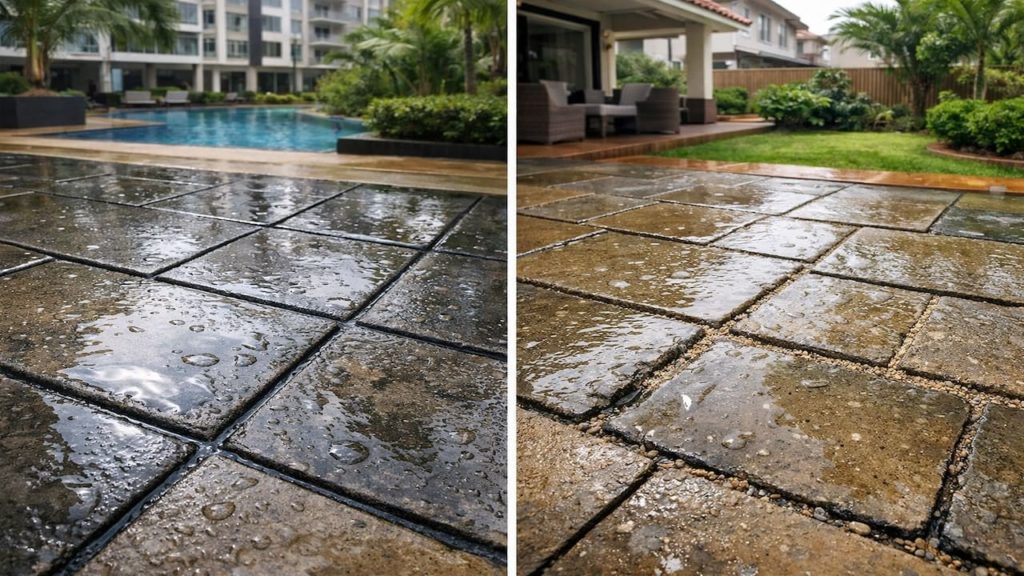
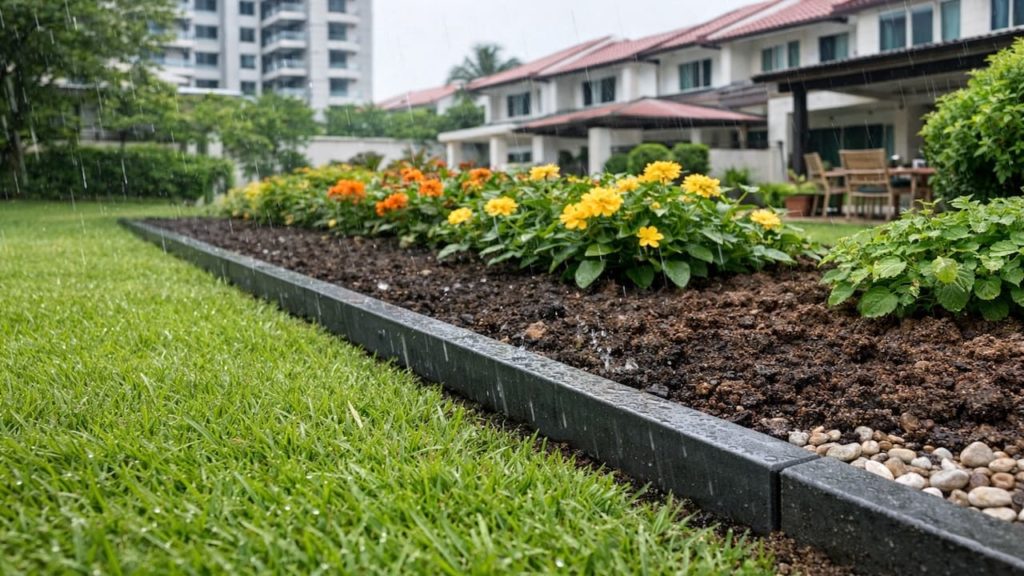
Wobble and slip happen when the base stays wet and loose and the stone surface gets a slick film in shade.
Malaysia humidity keeps the ground soft for longer, and short storms can wash away bedding sand under a single stone. Add ants, roots, and tiny voids, and one corner starts rocking. Then algae film grows fastest where airflow is poor, like side yards. Hidden risk. A stable base and textured surface prevent both problems.
- Thin bedding sand washes out after heavy rain
- Uncompacted soil settles and creates a tilt
- Low spots hold water and feed algae growth
- Smooth stones become slick under wet sheen
- Weeds push edges and break the clean line
People blame “bad stones,” but even good material fails if you place it on soft ground and hope for the best. Build each stone like a mini foundation, then the path stays quiet. No rocking. No surprise slips — that is the goal.
4. How to build a stepping-stone path that lasts
Build each stone on a compacted pad with drainage so it stays level and dries quicker after storms.
Work stone by stone, keep the top surfaces level, and lock edges so rain cannot undercut the bedding. RM80–250 can cover a few stones, base material, and gravel fill for a small path. Budget friendly. Pick textures that stay grippy when wet, because Malaysia wet season will test your choices.
- Dig pads deeper than the surrounding soil
- Lay crushed base and compact it firmly
- Use a thin bedding layer and level carefully
- Set stones flush or slightly proud for runoff
- Fill joints and edges to stop erosion
Some folks try to “float” stones on soil to save time, but that is a guarantee of wobble after the first month of rain. If you cannot compact properly, reduce stone count and do fewer, better pads. One afternoon well spent beats endless re-leveling. Durable path.
5. FAQs
Q1. What is the best spacing for stepping stones?
Use your natural stride as the rule, not a fixed number. Walk the line and mark where your feet land, then adjust so each step feels automatic.
Q2. Should stones be flush with the ground or raised?
Flush looks cleaner and is easier to sweep, but can trap water if the area is low. Slightly proud helps drainage, as long as edges are stable and not a trip point.
Q3. Can I place stepping stones on grass in Malaysia?
You can, but grass around stones often turns muddy and patchy in wet months. Gravel or tough groundcover handles humidity better and reduces slippery soil smear.
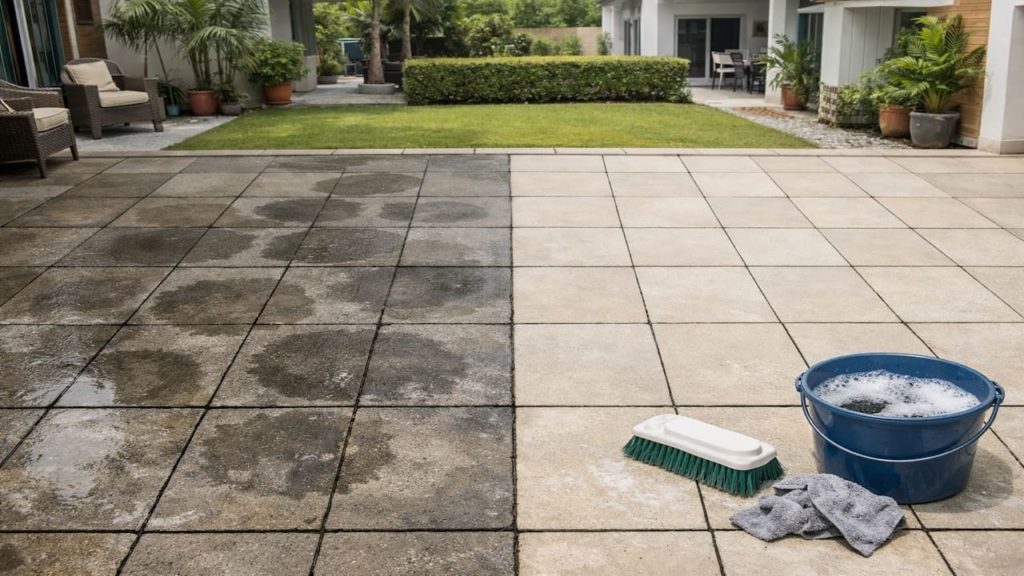
Q4. How do I keep stepping stones from getting slippery?
Choose a textured finish and reduce standing water around each pad. Grip comes from texture plus faster drying not from constant scrubbing alone.
Q5. What fill looks best between stones in small yards?
Gravel is the easiest to keep clean and drains well, especially in shaded side yards. For a softer look, use low groundcover, but keep it trimmed to show the stepping rhythm.
Pro’s Tough Talk
Listen, 現場で20年以上 and 何百件もいろんな工事をやった, stepping stones are not cute ornaments, they are a walking tool. If one stone rocks, your ankle pays the price, not the stone.
Cause is 3 things. One, you dropped it on soft soil and called it “done.” Two, water keeps feeding the pad because drainage is lazy. Three, shade and humidity grow slick film like it is their full-time job.
Do 3 steps now. Mark the route, rebuild only the landing pads with compacted base, then fill edges so rain cannot steal your bedding. Test it wet, not just dry.
This is like putting tiles on jelly, and like walking on soap when algae wins Every stone needs a solid compacted pad. Once you do that, the path feels calm and obvious.
The “hands full of laundry” dash and the “delivery rider at the gate” hurry, those are the moments you slip, so here’s the tsukkomi: you really want that gamble. Make it stable, or enjoy doing the same fix every rainy week like it is your new hobby.
Summary
A stepping-stone path saves budget and space when you design it as a clear walking line with stable landing pads. Texture and drainage keep it safe in Malaysia weather.
If stones keep shifting, stop adding more pieces and rebuild the base under the main landing points first. If puddles remain, fix slope and runoff before blaming materials.
Set a clear route and compact each pad properly then continue with related guides like algae slick prevention or drainage checks for small yards.