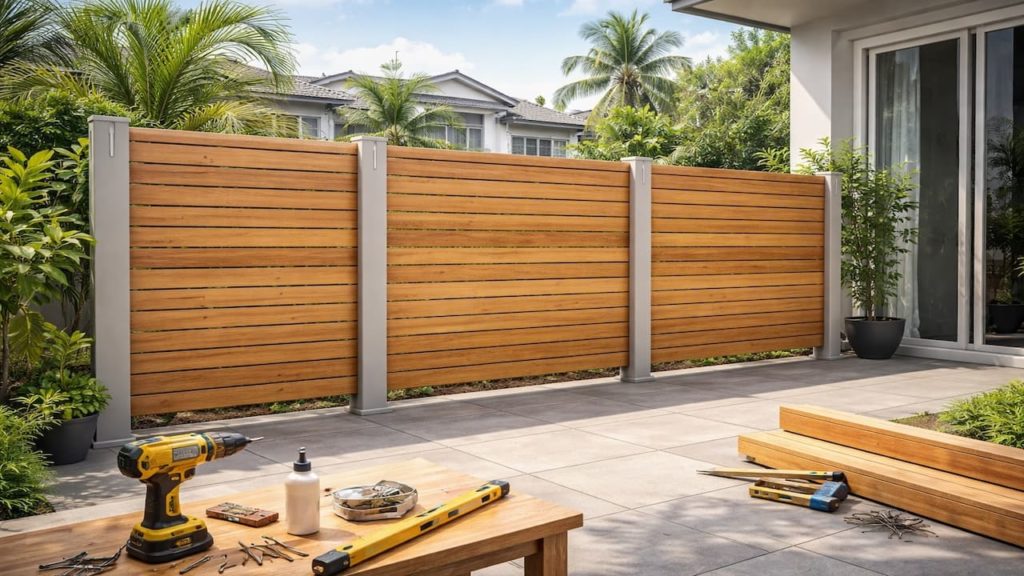
You want DIY privacy screens, but you do not want panels that wobble, lean, or turn into a noisy sail in Malaysia rain and wind.
Cheap builds fail when the frame flexes, water sits at the base, and hardware rusts, even if the panels looked fine on day one.
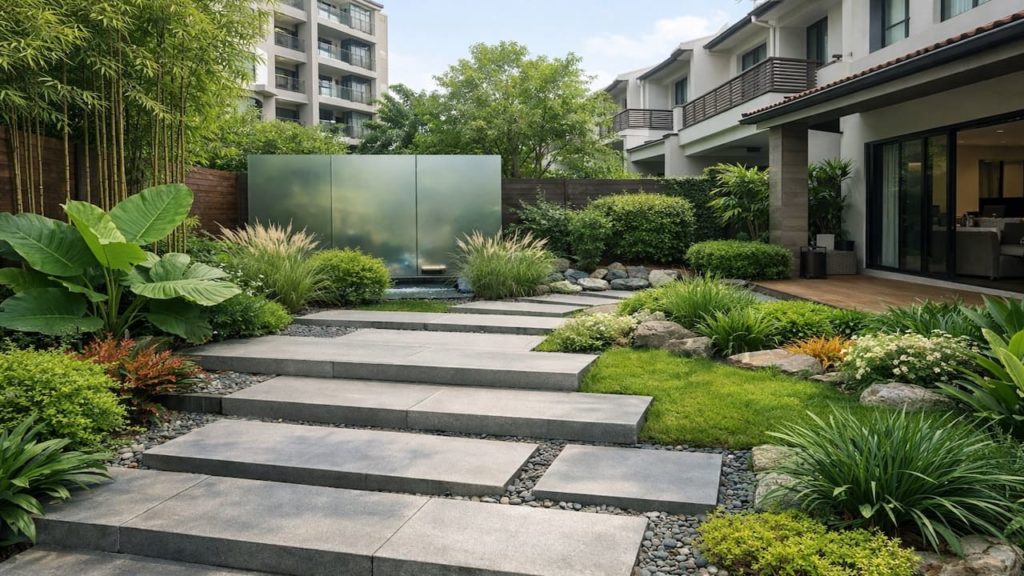
In this guide, you’ll learn how to build screens that stay straight with simple structure and drainage choices that suit Malaysia housing and wet months.
Hi, I’m Ken. I write practical home guides for Malaysia—no fluff, just what works.
I hold a formal building design qualification and have spent about 20 years on job sites across hundreds of projects. My goal is simple: help you avoid costly mistakes with clear, safe steps—a quick way to decide what to do next.
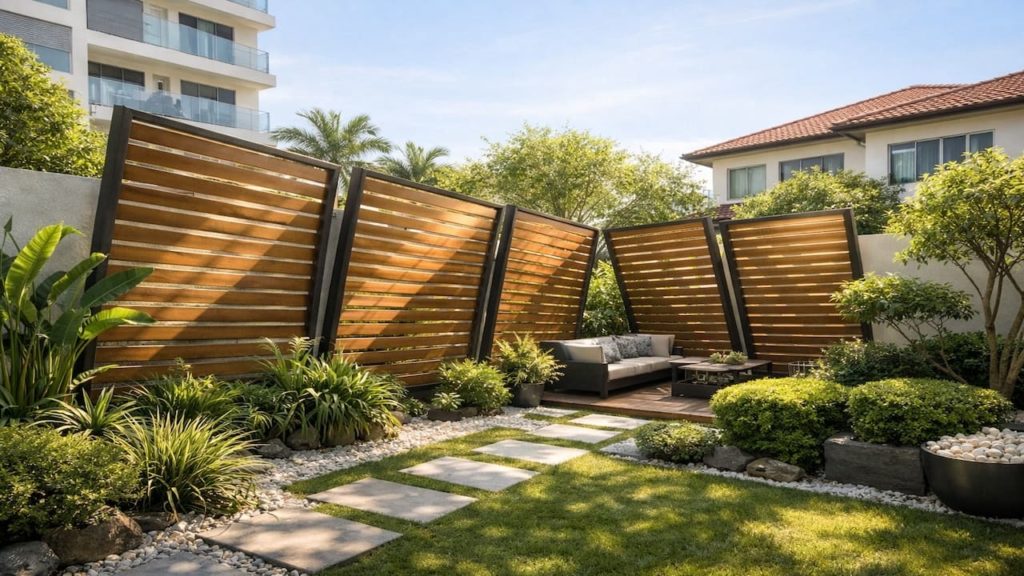
1. DIY privacy screens: 5 steps
Build the frame first and the panels behave long-term.
A privacy screen is a small wall, so it needs a stiff frame, predictable anchors, and a plan for water to escape. Structure matters. In Malaysia humidity, weak frames twist and screws loosen faster, so a “good enough” build becomes a weekly re-tighten chore. Straight screens come from solid posts, square corners, and load spread across brackets, not from thicker slats alone. Foundation thinking.
- Decide screen height based on real sightlines
- Choose posts that resist twist and bending
- Plan anchor points into concrete or solid studs
- Leave bottom clearance for drainage and cleaning
- Confirm airflow so damp cannot stay trapped
Some people start by buying pretty slats, but slats cannot fix a weak frame. Reality. The frame is the boss. Make it stiff and the rest becomes easy.
2. Build panels that stay straight and strong
Use bracing and spacing to stop warping and rattle.
Long spans bend, and tight slats trap water, so you need mid supports and small gaps that let everything dry after rain. Practical build. If you buy basic supplies like stainless screws, brackets, and end caps, RM5–20 can cover many small items for a starter section, while the main cost is careful measuring and drilling. Straightness comes from boring detail.
- Add a mid rail to reduce slat bowing
- Use diagonal brace on wide freestanding screens
- Space slats to allow water drip exit
- Cap cut ends to prevent water wicking
- Use stainless hardware to avoid rust loosening
You might think “no gaps looks cleaner,” but no gaps means trapped moisture, black streaks, and swelling edges in Malaysia wet months. Not worth it. Tiny spacing looks the same from far, and it lasts longer. Drying is strength.
3. Why DIY screens warp or lean in wet months
They fail from repeated movement not from one big storm.
Wind pushes the screen like a sail, and each push enlarges holes and loosens anchors if the frame can flex. Micro damage. Malaysia rain keeps joints wet, so wood swells, metal rusts, and tight connections lose grip faster. If water pools at the base, the ground softens and the post begins to tilt, even if you built it straight at first.
- Check for wobble at the top edge
- Look for oval holes around brackets
- Inspect base area for pooling water lines
- Notice squeaks or rattles during gusts
- Watch for swelling edges on wood slats
Some blame “bad luck with weather,” but the same weather hits everyone, and only weak frames move. Not your fault. Fix the structure and the weather becomes manageable. Movement is the enemy.
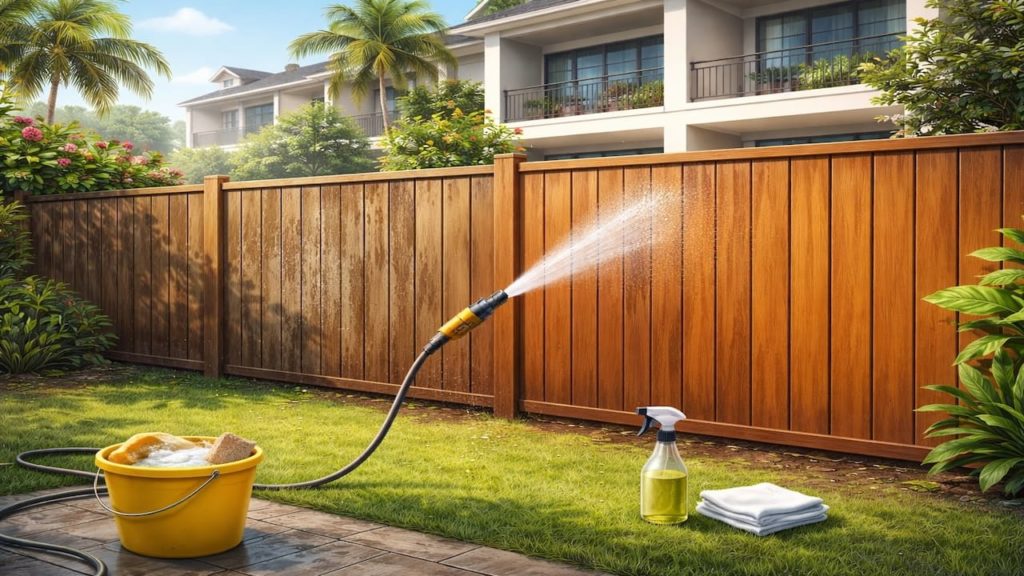
4. How to build and install the screen correctly
Square it, anchor it, and seal it so water cannot slowly weaken it.
Build on a flat surface, measure diagonals to keep it square, then install with anchors that match your wall or floor type. Clean method. cost is mostly time/effort, because patience during layout prevents rework later. After install, protect cut ends, keep bottom gaps clear, and run a hose test to confirm runoff does not sit around posts.
- Use diagonal measurements to confirm square frame
- Anchor posts into concrete with correct fixings
- Pre drill holes to prevent split and cracking
- Seal cut surfaces to block water entry
- Test with water to confirm drainage direction
Some people skip sealing because it feels optional, but Malaysia humidity turns unsealed edges into a sponge and the warp starts there. Seal first. Also avoid oversize screens with no bracing, because bigger sail equals bigger movement. Keep spans reasonable and add support.
5. FAQs
Q1. What is the best height for a DIY privacy screen?
Choose height based on the exact sightline you want to block, not a guess. Taller screens catch more wind, so build only as tall as needed.
Q2. Can I build a screen without drilling into walls?
You can with a wide heavy base, but freestanding screens need bracing and weight to avoid tipping. Anchored screens are safer and quieter.
Q3. How do I keep wood screens from warping?
Use sealed edges, allow airflow gaps, and include mid rails so boards cannot bow. Avoid tight solid sheets that trap damp.
Q4. What hardware should I use in humid weather?
Use stainless screws and rust-resistant brackets because rust loosens fasteners over time. Replace any spinning screws early.
Q5. How do I know if my screen is strong enough?
Push the top lightly and watch for movement at the base. If the base rocks, fix anchors and add bracing before adding more height.
Pro’s Tough Talk
Listen, I have over 20 years on site and I have done hundreds of different jobs, and DIY privacy screens only stay straight when you build them like structure, not like decoration.
Cause is 3 things. You make the frame too weak. You trap water at the base. You use cheap hardware that rusts and loosens in Malaysia humidity.
Do 3 steps now. Build a stiff frame with a mid rail and brace wide spans. Leave drainage clearance so water cannot sit. Use stainless fasteners and anchor into real structure.
This is like stacking books as a chair, like tying a rope as a door hinge—Make the frame the strongest part and the screen stops wobbling and starts feeling professional.
When the storm hits and when you bump it dragging bins, you will hear the truth, tsukkomi: if you want a daily rattle concert, skip the bracing and call it “DIY vibes.”
Summary
DIY privacy screens stay straight when the frame is stiff, anchors are solid, and water can drain away in Malaysia wet months. Gaps for airflow and sealed edges reduce warp and stains.
If your screen wobbles or leans, fix the base and add bracing before you add height or more panels. If rust shows up at screws, replace hardware early and improve drainage around posts.
Do step 2 today and then read your related guides on DIY privacy repair and cleaning privacy screens so your screen stays strong and easy to maintain.